Over a couple of years, I slowly built out an amplifier based on the DIYaudio honeybadger design. It was an on/off process where I got one part of it working at a time. Starting by building the channels one at a time on a bench PSU.
This project consists of a single large transformer and dual mono PSU boards with 20K capacitance on each channel, an Arduino based control board with soft start, overload protection and DC protection. For this I used an existing design: 21st century protection board.
My initial plan was that this amplifier would be used in my AV setup to drive my Jensen full size speakers However, it works so well with my Seas Mimir speakers in the office that I’ve never executed the goal of moving it into the AV room.
I’m not one for trying to describe sound but I will say this, this amplifier is clean, in fact I believe it is the best amplifier I’ve ever heard and easily drives either my Jensen or Mimir speakers. In fact along with a little diffraction in front of the grills on my Mimir bookshelf speakers (in the form of some carpet tape), the sound is absolutely fantastic. This amp is very transparent and clean sounding and I’ve never seen anything move bass drivers with such rigor and force.
Let me digress for a moment. My Mimir speakers occasionally sounded a bit shouty in the mid. I read about the reasoning for this in the following book; which explains this effect being similar to speaking into a horn: High Quality Loudspeaker Engineering - Marin Lawrenece Since making that very simple (and very economical) change they are sounding much better.
Edit: Since this article the Mimir speakers are now in the AV room doing an excellent job of surround duties, they pair with the Jensen front speakers better than I could have ever imagined.
mimir speaker diffraction with tape over woofer
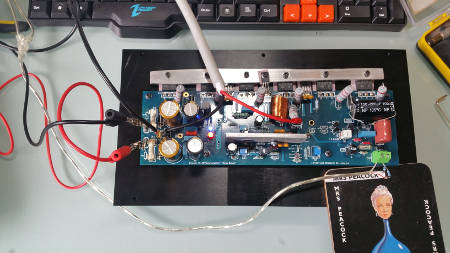
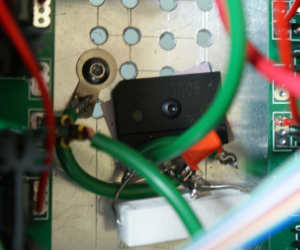
Honey badger amp running of bench PSU, mounted on heatsink
At the moment, I’m running this amp using a prototype pre-amplifier that I am building.
About this build
This build is a combination of DIYAudio’s honey badger and the 21st century protection board. These two together provide a way to get up and running with the features of many very expensive commercial offerings, cost effectiveness depends on how much enjoyment you get from building it. For me I’ve really enjoyed building it, and learnt an awful lot along the way.
Honey badger amplifier
- 150W power amplifier based on blameless design
- Three pairs of output transistors, thermally stable
- Can drive very low impedance speakers
- Very low noise design (need to put ear right up to tweeter to hear noise)
21st century protection board
- Compact Power supply boards for each channel
- Relay boards with soft-start capability
- 12V and 5V start-up options
- DC, temperature and overload protection
- Low Rds MOSFET “solid state relays” on the outputs
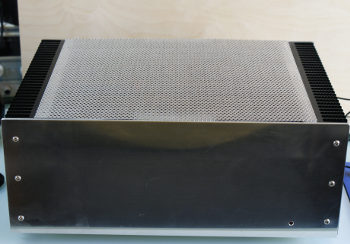
The Case and power supply
- Each channels is mounted on 300 x 165mm (4U rack) heat-sinks that are 40mm deep, they were manually drilled and tapped to mount the honey badger, (I’ve got really good at tapping recently).
- The bottom is a 3mm thick aluminium sheet
- Fitted with a Canterbury windings 700VA 36-0-36 transformer
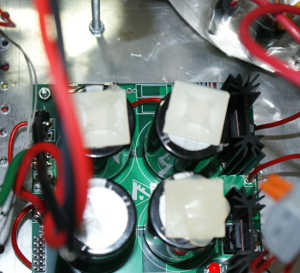
- Dual PSU boards with 20,000uF capacitance
- The raised section has the 21st century protection components on it
- On the rear, there is power ingress - fused and switched at entry and the DC protection boards (one missing)
If you combine these two projects together, it gives you the equivalent of a very high quality commercial amplifier but it does cost quite a bit to build. I’d imagine it cost me the best part of £800-900 to complete the build including wiring and case, but I did go for the best quality components in each position. I’m sure that some savings could be made here and there if you were able to avoid any subjectivity.
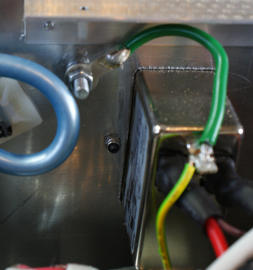
Left: safety first, earth to chassis. Right, more safety, lifted earth for PSU.
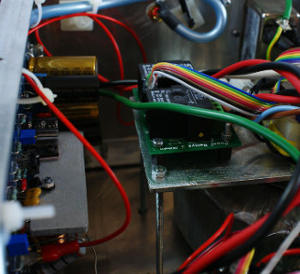
Left: raised control board with transformer below. Right: Top view of amplifier exposed.
Still a little messy inside, but much better than it originally was, below I’ve included a before and after shot, that contrasts the original innards with how it looks now. The plastic connectors you can see near the power supplies are Wago Connectors, I use them to distribute the AC to the boards and centralise the earth, they are usually rated between 20 and 32A 400Vac - more than suitable and very easy to use.
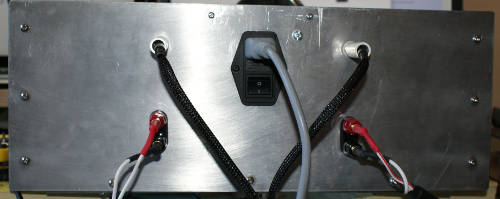
Above: Amplifier back panel
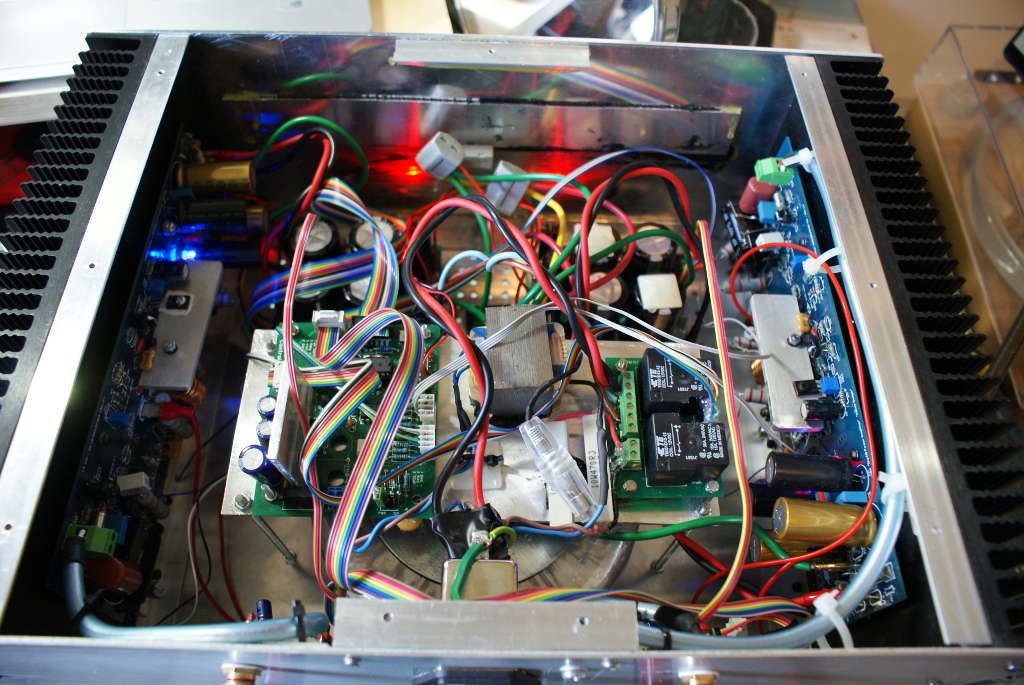
Complete internals of amplifier - click for full-size
Summary and a few notes
Building your own amplifier does take a lot of time, and if you make your own chassis, it will stretch your assembly skills to the limit. However, there is nothing more rewarding than having built a quality item like this. I’m really thankful to the community at DIY audio for the help I received and for them making the designs available.
Would I make my own chassis again? Yes, I’d do it every time, I really enjoyed making it. In fact for the next one I’m going to get a small silk screening it to make it look even better.
I started by building one board at a time, getting each one working in isolation. To do this I tested each one on a bench top supply. I started with the voltage very low and increased it slowly, in addition I had the current limited to the minimum possible. Many people also suggest a bulb tester; which may well be better in the event there is a short in the circuit somewhere. I’m currently running it “hot”, that is just over 100mA through each pair of output devices, giving a total of 300mA. When I had it running on my bench top supply.
Other pages within this category
- Designing a simple PGA2310 based preamplifier with network control
- Tidy up of my honey badger amplifier
- Building DIYAudio's honey badger amplifier
You'll also find me on:


Also find me here