Over the past month or two, I’ve finally fixed up some snags that I had when building the honey badger amplifier. When I first built it, I had a difficult time trying to track down dry joint on one of the start boards - it also had a bad IDC connector delivering power to it.
In addition the PSU boards had a fault and needed to be stripped down and moved to new boards. These two changes along with a general tidy up, are documented here.
This is a companion article that discusses fixing up some snags, see building a DIYaudio honeybadger amplifier
for the full build.
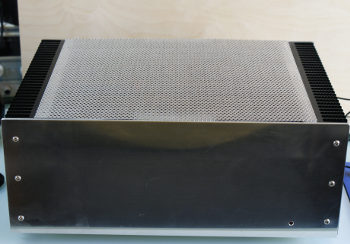
Some photos from along the way
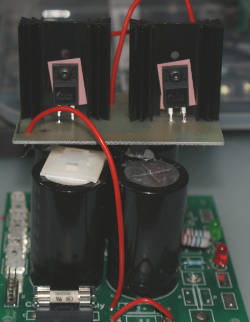
What the PSU boards looked like with my attic conversion extension for the diodes
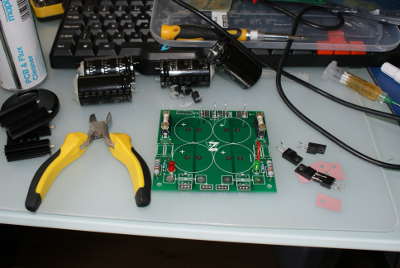
Building the new PSU boards
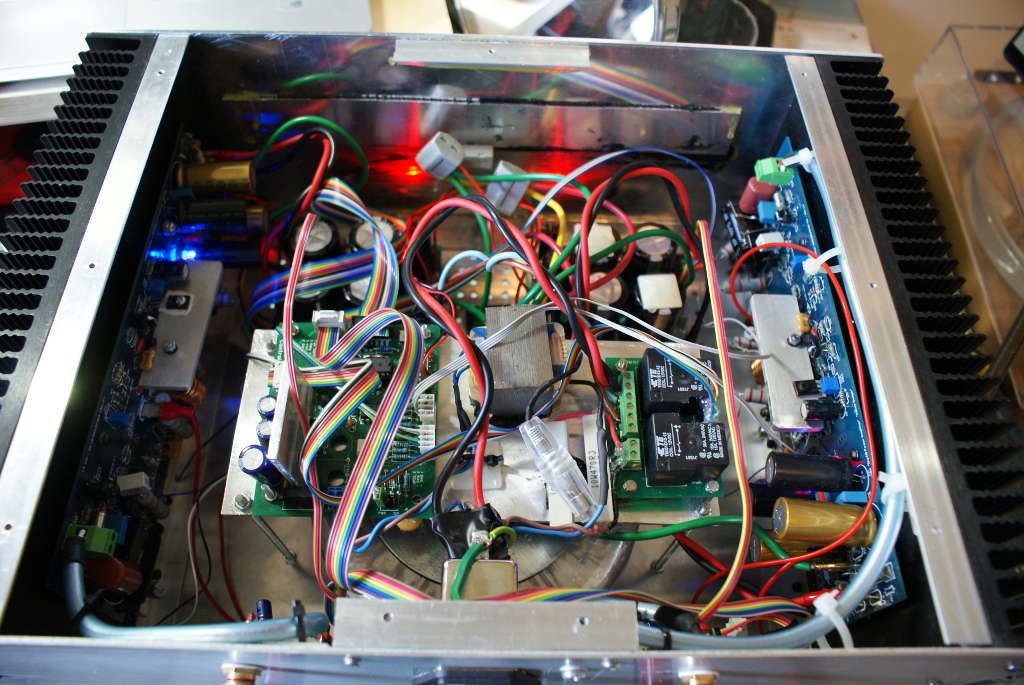
The new and tidier internal view - full size image
Other pages within this category
- Designing a simple PGA2310 based preamplifier with network control
- Tidy up of my honey badger amplifier
- Building DIYAudio's honey badger amplifier
You'll also find me on:

comments powered by Disqus

Also find me here